
Garbage to Gold: How to Compost in the Fall in Upstate New York
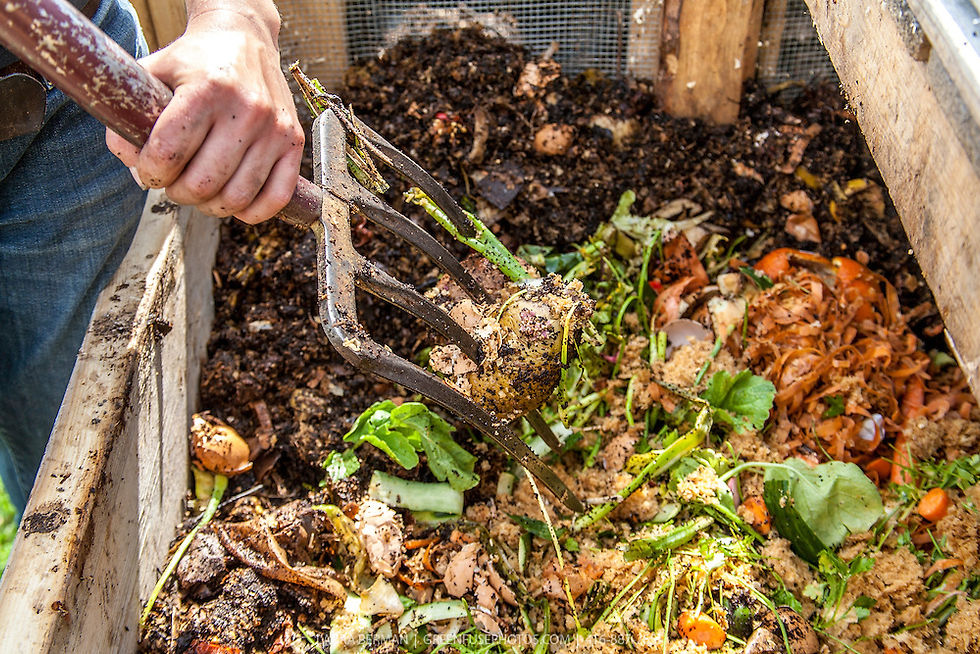
Fall brings abundant leaves, a shorter growing season, and a useful opportunity to prepare compost before the coldest weather arrives. This guide explains how to build, protect, and maintain a compost pile in the Oswego, New York area while keeping the process practical, clean, and suitable for home gardens.
By the end of this beginner-friendly guide, you’ll know how to balance browns and greens, layer materials, manage moisture, protect a pile from snow and freeze-thaw conditions, and use finished compost when the growing season returns.
Organic Earthling in practice: At Organic Earthling LLC, we are a family-owned, faith-and-family-powered business in Oswego, NY, located at 437 State Route 104 in Widewaters Plaza next to Lowe's Home Improvement. We compost all of our juicing scraps, returning fruit and vegetable pulp, peels, and other suitable organic remnants to the composting cycle instead of sending them to the landfill. |
What You Need Before You Start
Fall is especially useful in Upstate New York because autumn supplies plentiful leaves just as the growing season is winding down. Building the pile before cold winters, snow, and repeated freeze-thaw conditions gives it a stronger start and makes winter care simpler.
A compost bin or designated pile area with room for airflow and protection from heavy precipitation.
Clean brown materials, such as fallen leaves, straw, wood chips, or clean shredded paper.
Clean green materials, such as fruit and vegetable scraps, grass clippings, coffee grounds, or plant trimmings.
A water source and a cover that helps protect the pile while still allowing ventilation.
A plan for keeping contaminants out: compostable materials should be free of plastic, stickers, labels, packaging, and other non-compostable waste.
Keep the inputs clear: Plant-based juicing scraps such as pulp and peels can belong in the composting cycle when suitable. Packaging, plastic, stickers, labels, and other contaminants do not. Note: See your local guidelines on recycling for plastic products. |
Build Your Fall Compost Pile: Step by Step
Follow these steps to create a balanced pile that can settle in before winter.
Choose a well-drained location. Set up your bin or pile where it can receive airflow and where melting snow or rain will not collect around it. Result: the pile has a better chance of staying balanced rather than waterlogged.
Gather clean materials. Separate leaves and other browns from greens, and remove plastic, stickers, labels, packaging, and other contaminants before anything goes into the pile. Result: the compost stream stays clean and usable.
Shred the leaves. Run a mower over a leaf pile, use a leaf shredder, or tear leaves into smaller pieces by hand. Result: smaller pieces break down more evenly and help the pile work efficiently.
Start with coarse material. Place small branches or straw at the bottom to support drainage and airflow. Result: the base is less likely to become compacted.
Balance browns and greens. Aim for a 3:1 ratio of browns to greens. Use leaves, straw, wood chips, or clean shredded paper for browns; use plant trimmings, grass clippings, fruit and vegetable scraps, or coffee grounds for greens. Result: the pile has both carbon-rich structure and nitrogen-rich fuel.
Layer the materials. Alternate brown and green layers until the pile is about 3–4 feet high. Result: the ingredients are distributed instead of forming one dense pocket of a single material.
Moisten each layer lightly. Add enough water to make the pile feel like a wrung-out sponge, not a soaked towel. Result: the pile is moist enough to decompose without becoming soggy.
Cover, but keep it ventilated. Before winter, use leaves, straw, or a cover to help protect the pile from snow and excess rain while leaving room for airflow. Result: the pile is insulated without being sealed shut.
Prepare for an Upstate New York Winter
Cold temperatures will slow the pile, and snow and freeze-thaw cycles can add excess moisture. Before winter settles in, add a thicker layer of leaves or straw around and over the pile, then keep the cover secure but ventilated. Check the pile when conditions allow, especially after a thaw, and avoid adding water if the contents are already wet.
Winter note: A covered pile should be protected, not sealed. Airflow matters, and a soggy pile can lose the balance it needs for steady decomposition. |
Upstate New York Seasonal Checklist
Early fall: Gather the season’s abundant leaves, remove contaminants, and shred the leaves before storing or layering them.
Mid-fall: Build the pile with coarse material at the base, then alternate browns and greens at a 3:1 ratio.
Before winter: Confirm that the pile is moist but not soggy, add insulating leaves or straw, and place a cover that still allows ventilation.
During winter: Continue adding kitchen scraps when practical, cover each addition with browns, and check the pile after snow or a freeze-thaw cycle when conditions are safe.
In spring: Look for compost that is dark and crumbly, then use it to prepare garden beds and support the next growing season.
Make Use of Finished Compost
When the compost has finished breaking down, use it to return organic matter to the garden and make the most of the material you saved through fall and winter.
Top dressing How to use it: Spread a thin layer over garden beds.
Why it helps: Adds organic matter and supports soil structure.
Soil amendment, How to use it: Mix compost into soil before planting.
Why it helps: Supports fertility and water retention.
Mulch How to use it: Place compost around established plants.
Why it helps: Helps retain moisture and suppress weeds.
Troubleshooting Common Problems
Problem: The pile is soggy. Solution: Add dry shredded leaves, straw, or other browns, improve airflow, and pause watering until the pile is closer to wrung-out-sponge moisture.
Problem: The pile is too dry. Solution: Add a small amount of water while mixing in greens and browns, taking care not to saturate the pile before snow or rain arrives.
Problem: The pile is slow in winter. Solution: Expect cold weather to slow decomposition, keep the pile insulated with leaves or straw, and continue adding kitchen scraps through winter when practical.
Problem: The compost contains unwanted material. Solution: Remove plastic, stickers, labels, packaging, and other contaminants; add only suitable plant-based scraps and clean organic materials going forward.
Closing the Loop with Organic Earthling
At Organic Earthling LLC, we see composting as a natural extension of our focus on organic ingredients, small-batch production, sustainability, and caring for the local community. By composting all of our juicing scraps—including fruit and vegetable pulp, peels, and other suitable organic remnants—we keep those materials in the composting cycle instead of sending them to the landfill. For our family-owned, faith-and-family-powered business in Oswego, fall composting is a practical way to care for the soil, make thoughtful use of what we have, and prepare for the growing season ahead.


Comments